The Desktop Muting Problem
I remember the first time I needed to strip audio from a screen recording for a client presentation. I opened Premiere Pro, waited for it to load, imported the clip, separated the audio track, deleted it, configured export settings, and waited for the render. The whole process took about eight minutes for what should have been a ten-second task.
That frustration is exactly why I built Remove Audio. But I also recognize that different situations call for different tools. Sometimes you are offline and need VLC. Sometimes you are on a Mac and QuickTime is already open. So here is an honest breakdown of your options, including the strengths and limitations of each.
"I have used every video editor from iMovie to DaVinci Resolve. For simply removing audio, none of them are worth the startup time. A focused tool beats a Swiss Army knife when you only need one blade."
Method 1: Browser-Based Tool (Any Desktop OS)
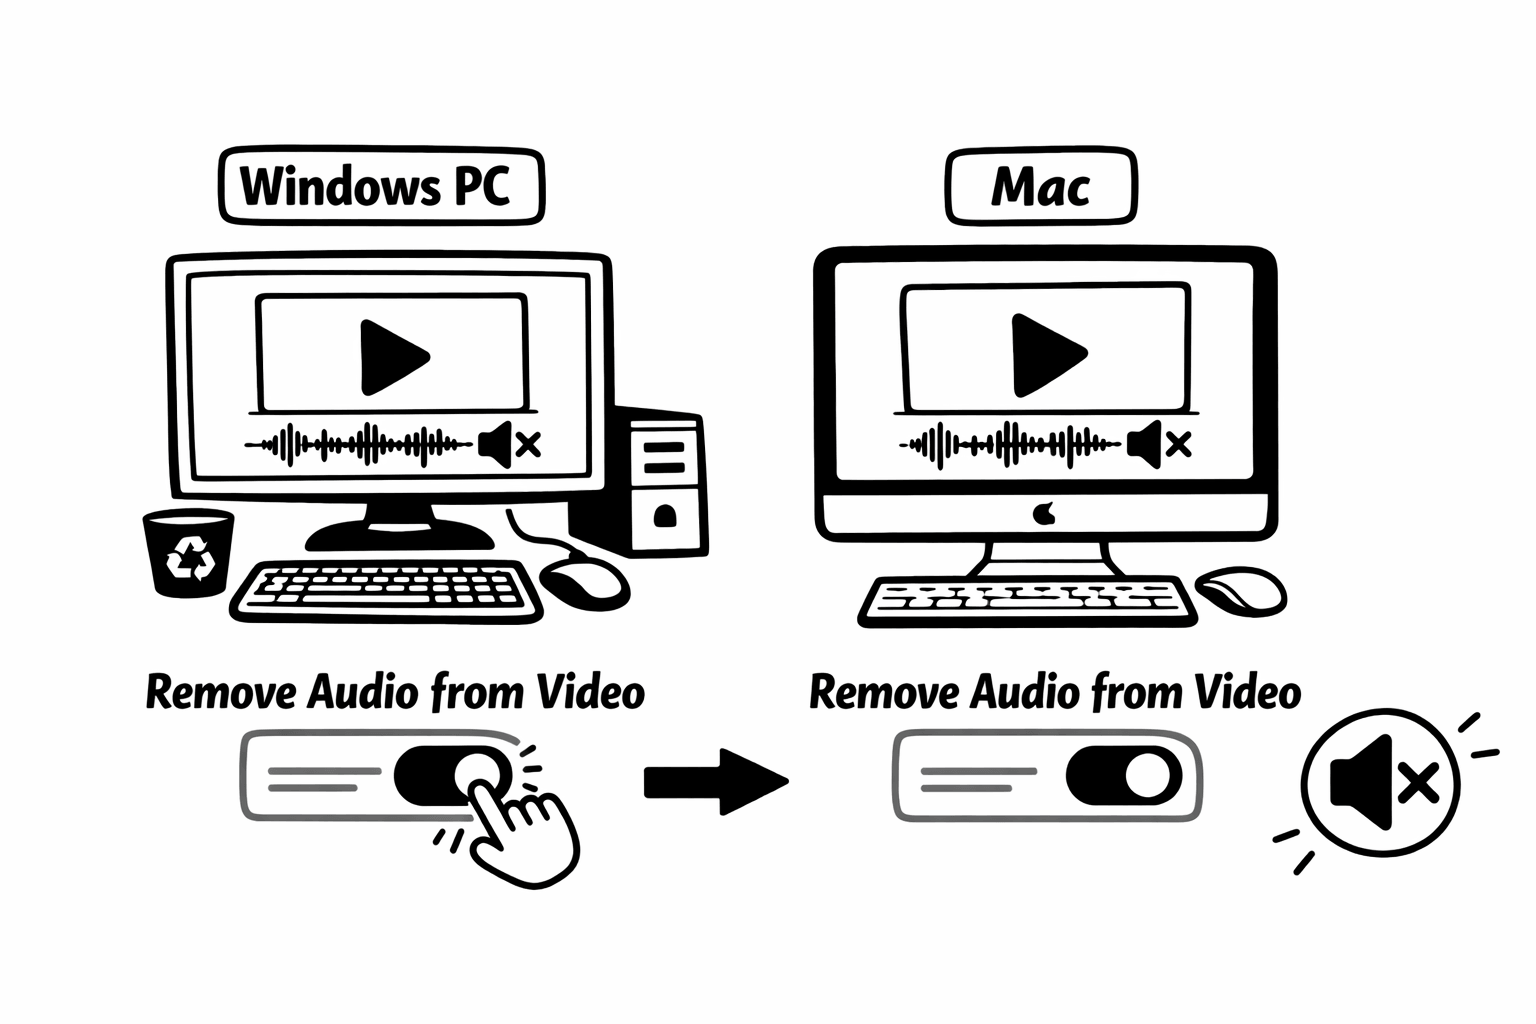
This is the method I built and maintain. It works identically on Windows, Mac, and Linux because everything runs in your browser.
- Open Chrome, Firefox, Edge, Safari, or any modern browser and navigate to remove-audio.com.
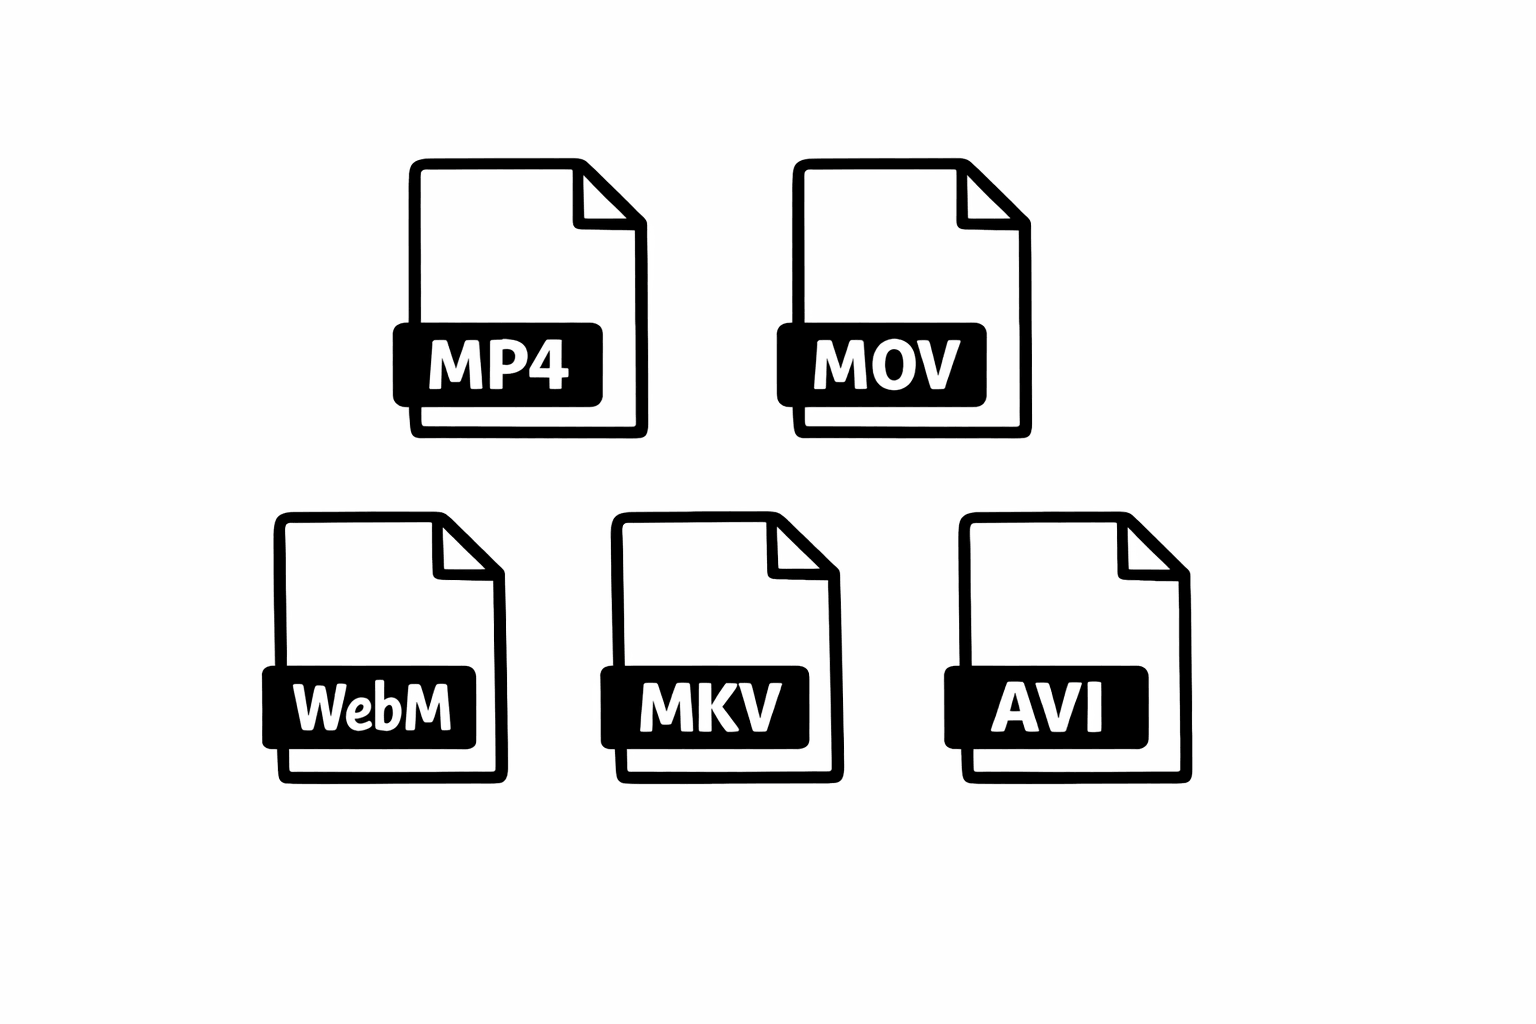
- Click the upload area or drag your video file directly onto it. Supported formats include MP4, MOV, MKV, AVI, WebM, and more.
- Click Remove Audio. The tool uses FFmpeg compiled to WebAssembly, which means your browser does the processing. No file is uploaded anywhere.
- When processing finishes (usually a few seconds for typical clips), click Download to save the muted video.
- The output file is identical to the original minus the audio track. Same resolution, same bitrate, same codec. No re-encoding means no quality loss.
Method 2: VLC Media Player (Windows and Mac)
VLC is a free, open-source media player that most people already have installed. It has a lesser-known conversion feature that can strip audio, though the process is a bit buried in menus.
The trade-off with VLC is that it re-encodes your video during conversion. This means the output might have slightly different quality characteristics than the original, and the process takes longer because it is actually decoding and re-encoding every frame. For a 5-minute clip, expect processing time roughly equal to the video length.
That said, VLC is a legitimate option if you are offline, already have it installed, and do not mind the re-encoding. I have used it myself on flights when I had no internet connection. The quality loss is usually negligible for casual use.
- Open VLC. On Windows, go to Media then Convert/Save. On Mac, go to File then Convert/Stream.
- Add your video file and click Convert/Save to proceed.
- In the conversion dialog, select a profile (like Video - H.264 + MP3). Then click the wrench icon to edit the profile.
- Go to the Audio Codec tab and uncheck Audio entirely. Save the profile changes.
- Choose an output filename and location, then click Start.
- Wait for VLC to process the file. Play back the output to confirm it is silent.
Method 3: QuickTime Player (Mac Only)
If you are on a Mac, QuickTime has the simplest built-in method I have found on any platform. It is genuinely a two-click process.
QuickTime's approach is clean because it simply strips the audio track from the container without re-encoding the video. This is the same approach my browser tool takes, which means you get the same quality preservation. The file size will be slightly smaller (since the audio data is gone) and the video is otherwise identical.
The obvious limitation is that this only works on Mac. And QuickTime cannot handle every format. MKV files, for example, will not open in QuickTime. For those, you need VLC or the browser tool.
- Open your video file in QuickTime Player (right-click the file, Open With, QuickTime Player).
- Go to Edit in the menu bar and click Remove Audio.
- Save or export the file. QuickTime writes a new file without the audio track.
Which Method Should You Use?
After years of working with video processing, here is my honest recommendation. If you have internet access and a browser open, use the browser tool. It is the fastest option with zero setup and no quality loss. If you are on a Mac and the file is already open in QuickTime, use QuickTime. It is equally fast and native. If you are offline on a Windows machine, VLC works but takes longer due to re-encoding.
The one thing I would avoid is opening a full video editor like Premiere, Final Cut, or DaVinci Resolve just to strip audio. Those tools are incredible for what they do, but they are massive overkill for a simple mute. You would not use a forklift to move a coffee mug.
"The right tool for the job is the one that gets you to a silent video fastest. For 95 percent of desktop users, that is a browser tab, not a video editor."
Advanced Tips for Desktop Users
If you work with video regularly, here are some workflow patterns I have picked up over the years.
- Set up a dedicated folder for muted clips. When you strip audio, save the output to a consistent location. It makes finding clean footage much easier when you are editing later.
- Batch processing is your friend. If you have multiple clips to mute, the browser tool lets you queue up to 20 files. This is significantly faster than opening each one individually in VLC or QuickTime.
- Check the output format. The browser tool preserves the original container format (MP4 stays MP4, MOV stays MOV). VLC might change the format depending on your profile settings. Make sure the output format is compatible with your editing software or upload platform.
- For screen recordings specifically, consider whether you actually need to remove the audio or just mute certain sections. If you only need to silence part of a video, a full editor might be the better choice. But if the entire audio track needs to go, a dedicated muting tool saves time.
Desktop Audio Removal Made Simple
Removing audio from video on a desktop should not be complicated. I built a tool specifically to make it a 30-second task because I was tired of spending minutes on something so simple. But whether you use my tool, QuickTime, or VLC, the important thing is knowing your options.
Each method has its place. The browser tool for speed and privacy. QuickTime for Mac-native simplicity. VLC for offline flexibility. Pick the one that fits your situation, strip that audio, and get back to the work that actually matters.
If you run into any issues with any of these methods, especially with unusual file formats or large files, feel free to reach out through the contact page. I personally read every message and I am always curious to hear about edge cases I have not encountered yet.